The Benefits of Iterating, from Notan to Repeated Painting

This week, I wanted to take folks through the process I’ve (sort of secretly) been slowly taking folks through on the Facebook group, from the October daily notan challenge, to the January “Little Square Paintings” daily challenge, to now the Weekly Painting Challenge. At the very least, what was my intention for laying things out this way? and what one might get from going through the process yourself?
Of course, miles on the brush is the most basic unit for how we improve ourselves. You can’t improve if you don’t paint. These various challenges get all of us to paint more, and that’s good. But also, very gently, at a pace that I think folks can maintain, I’ve been taking artists through a great, repeatable process that they can do on their own, which helps them assess compositions, test methods of painting, and finally… iterate and improve on their own paintings with second or third versions of the very best subjects.
The Basic Overview—
Here’s a visual of how each step leads to the next. I’ll be going into detail down below.
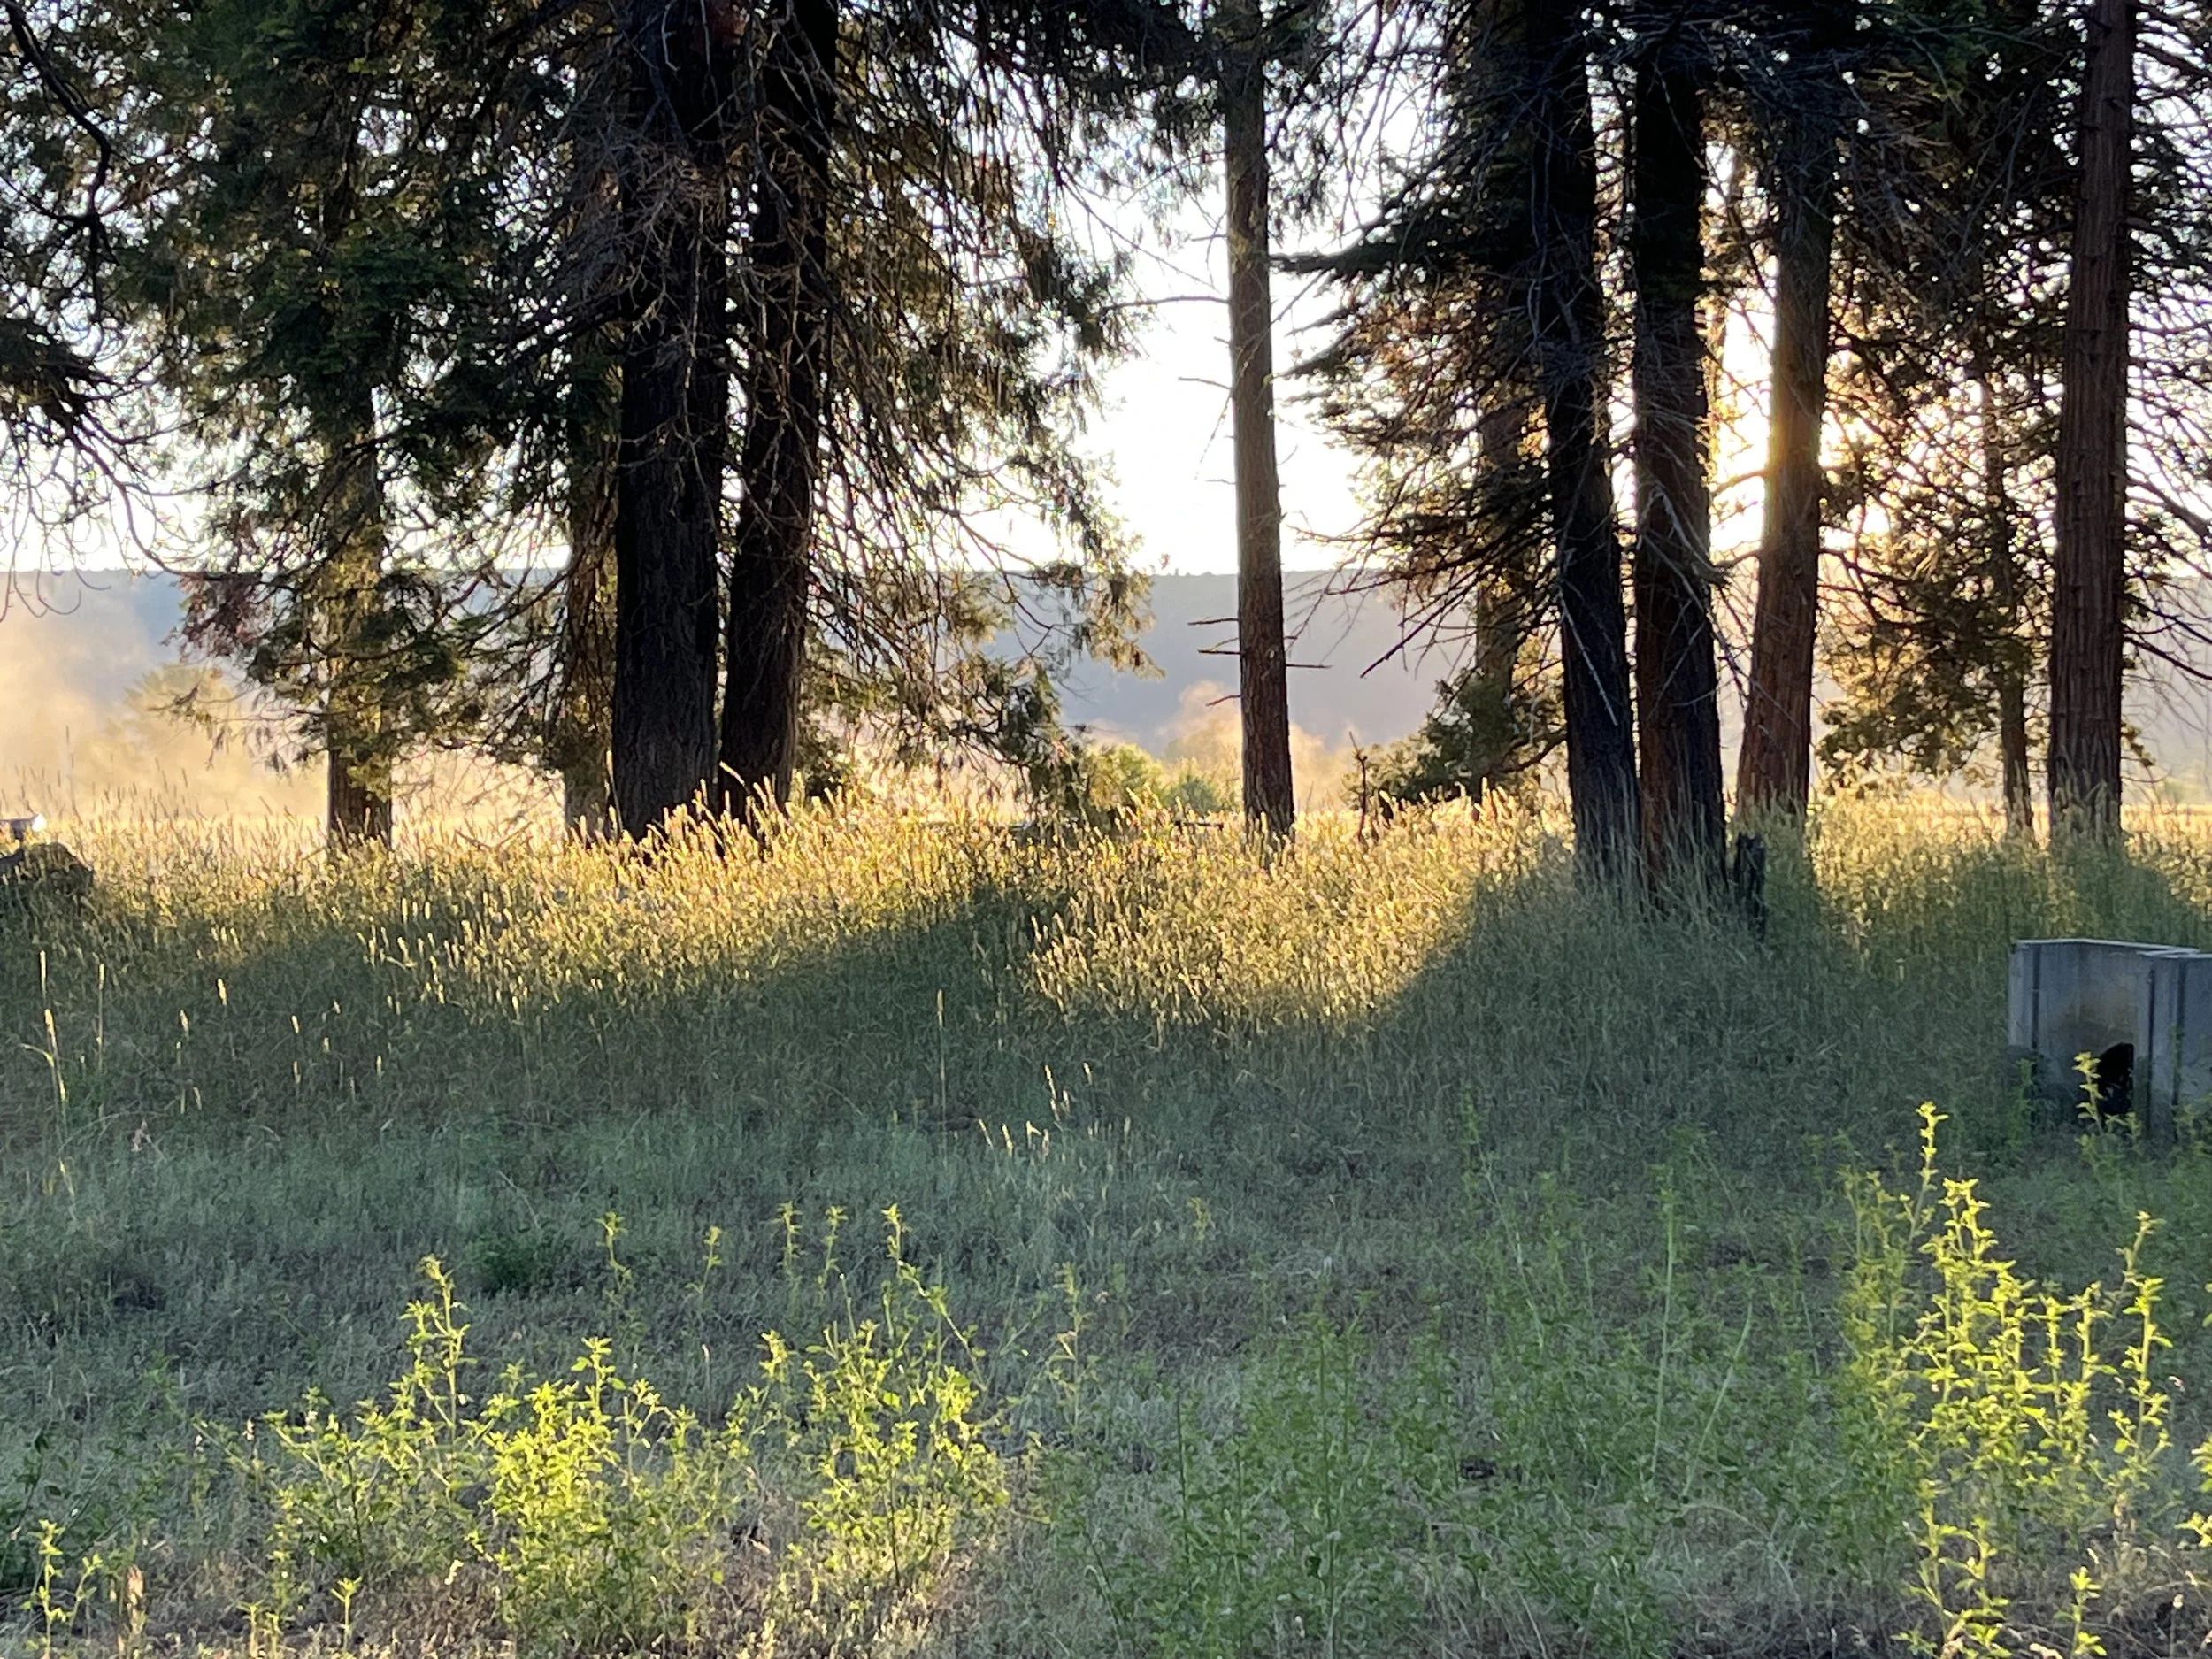
Step 1. Unedited reference photo.

Step 2. Notan of photo.

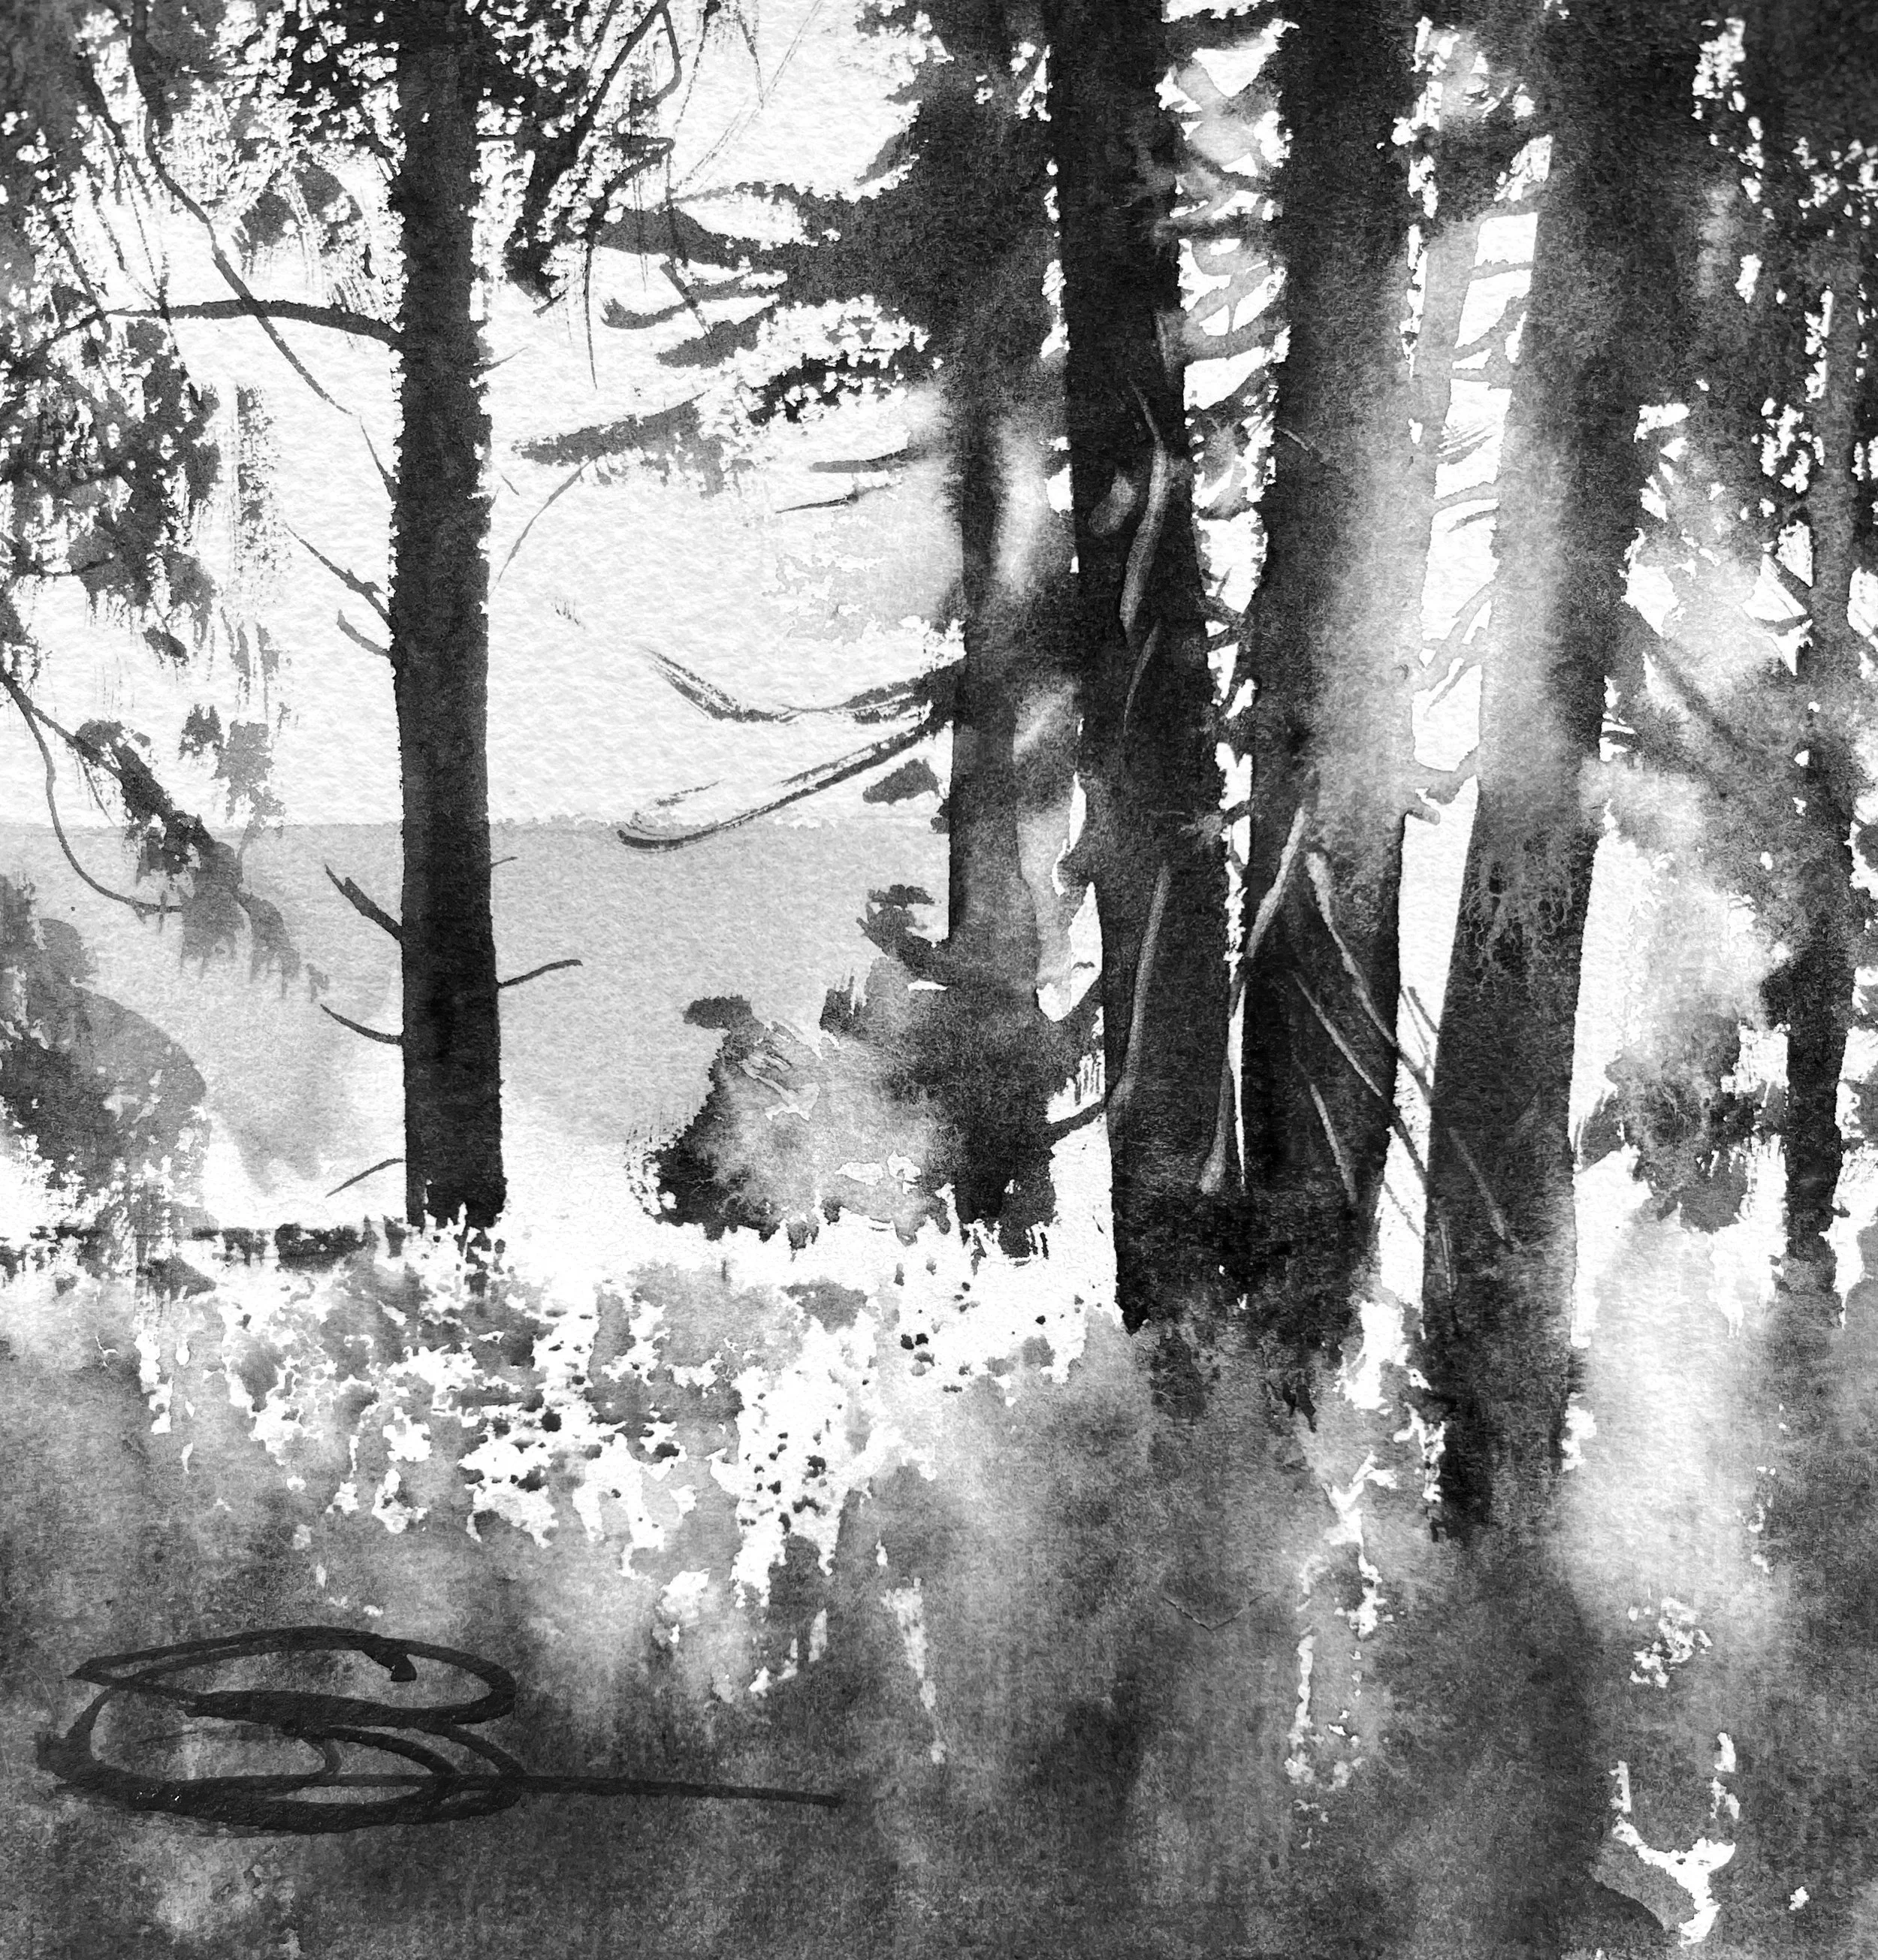
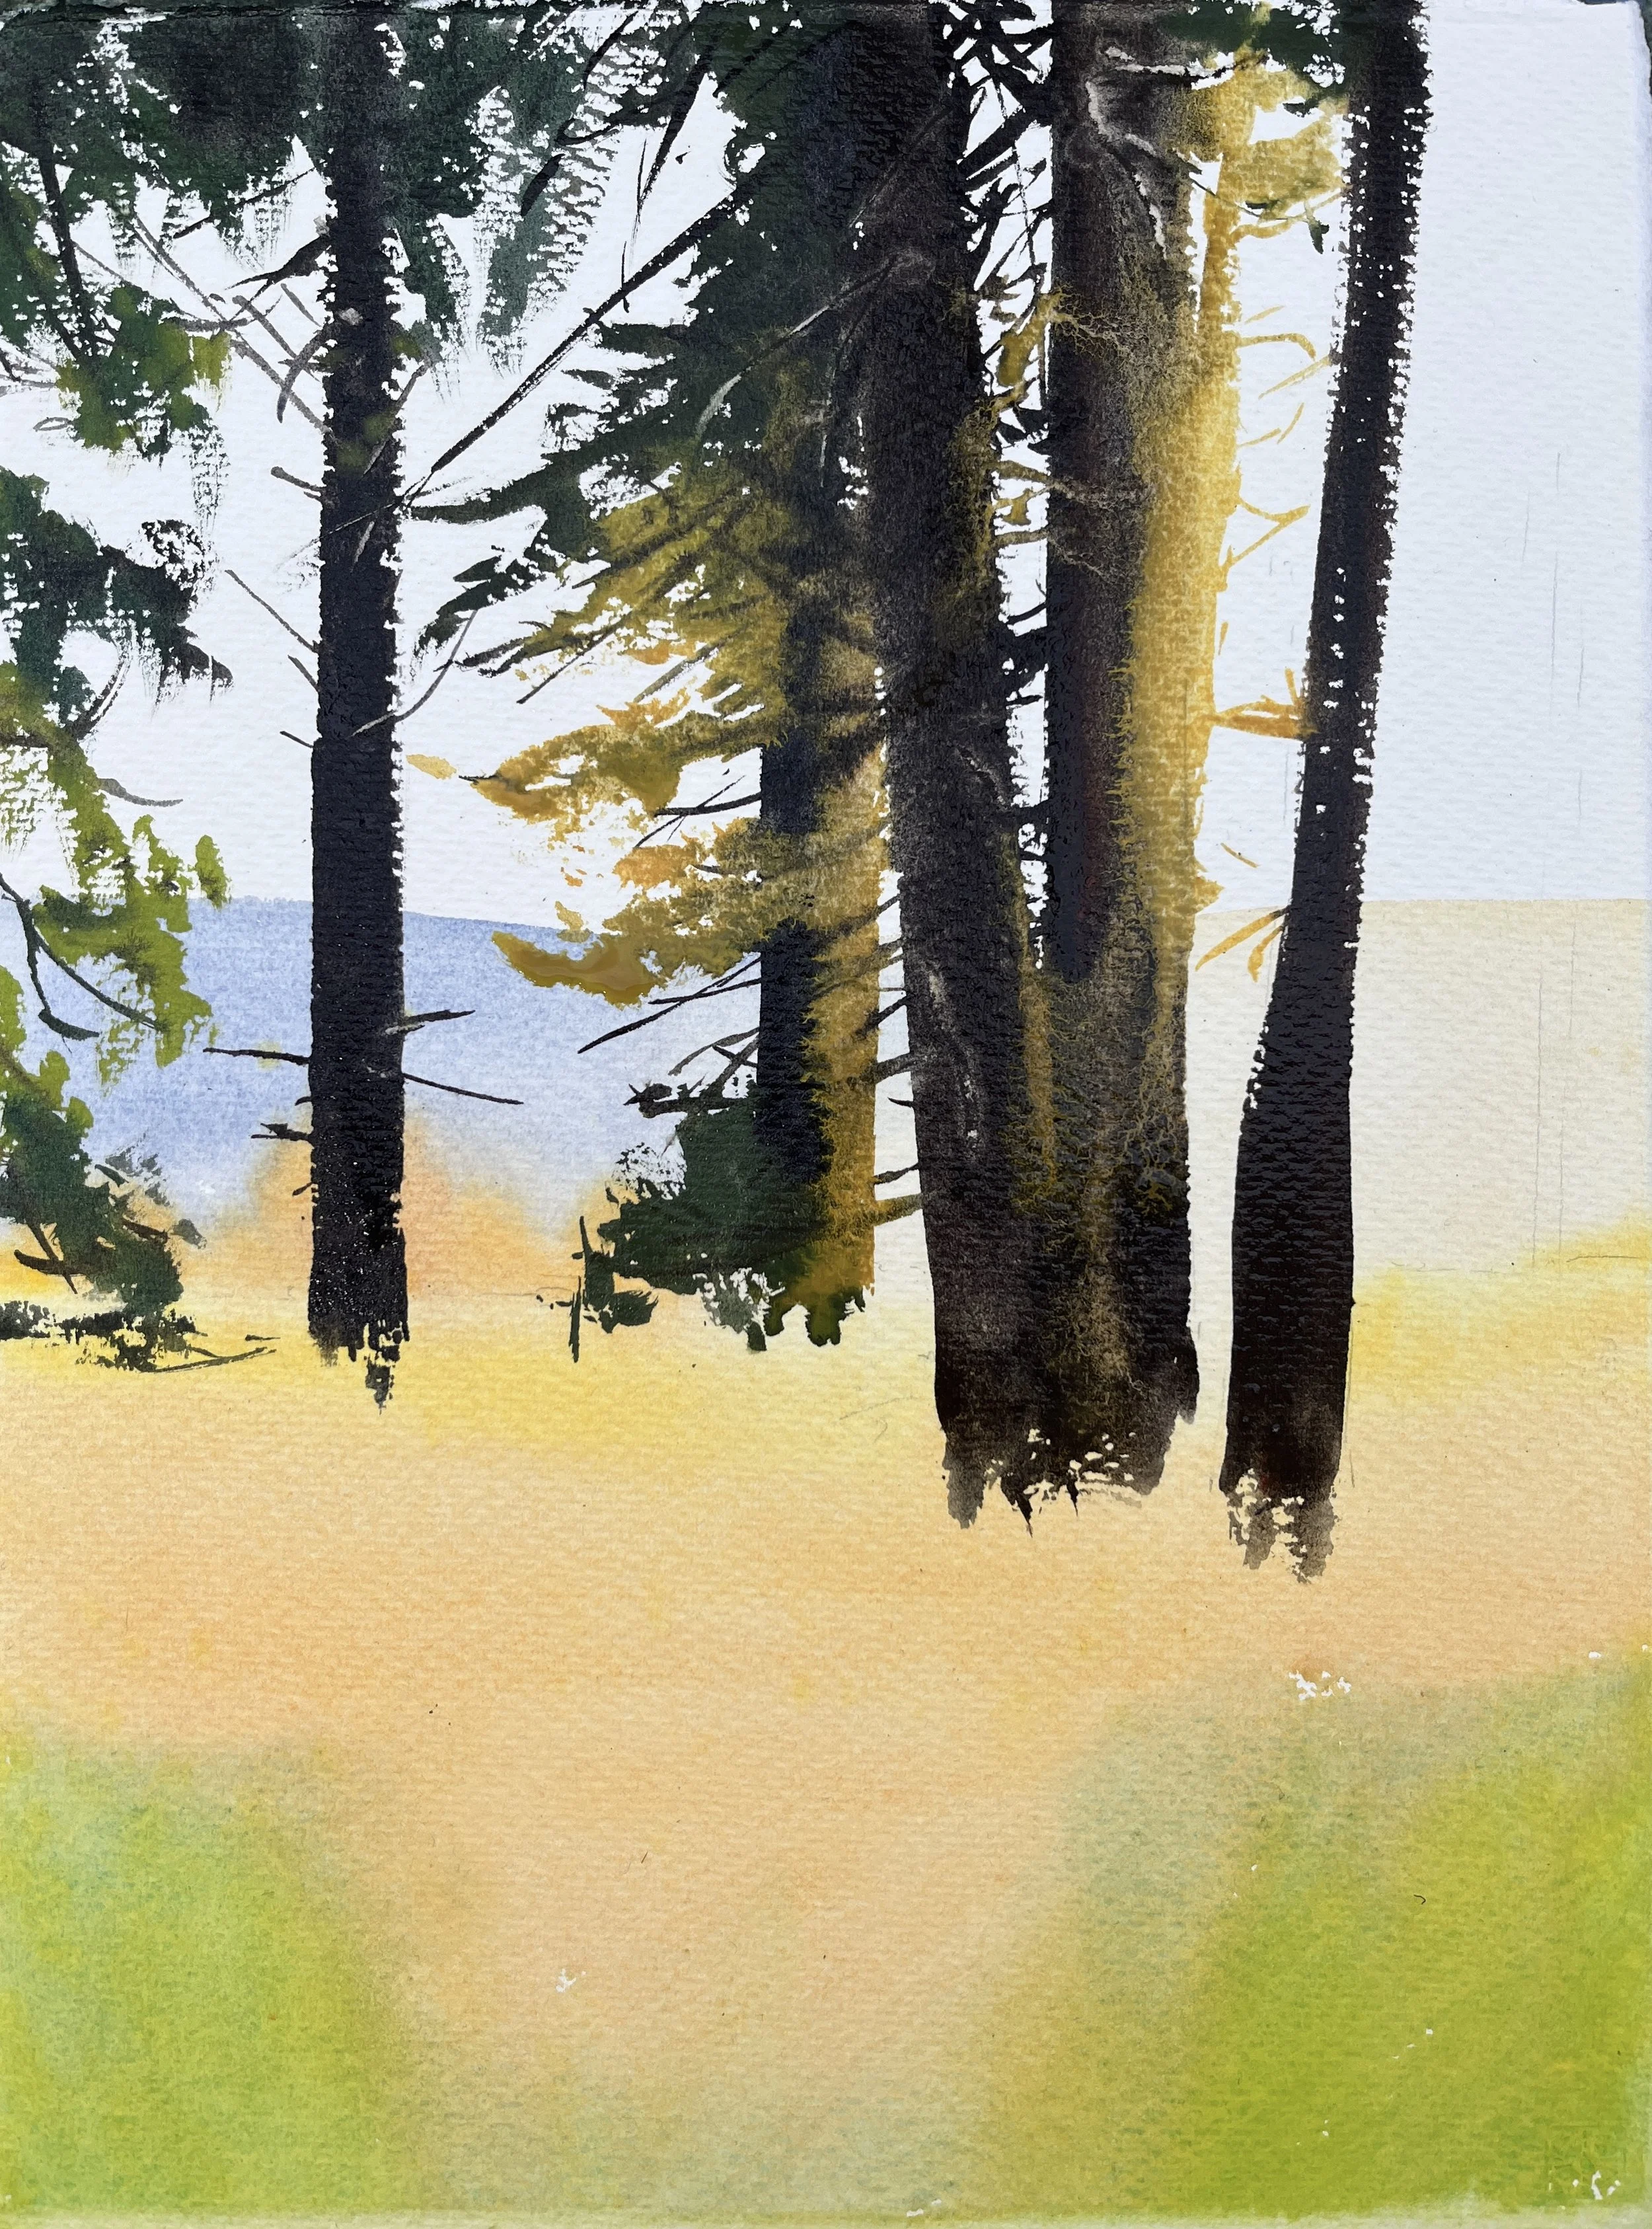
Step 3. Little Square Painting version.

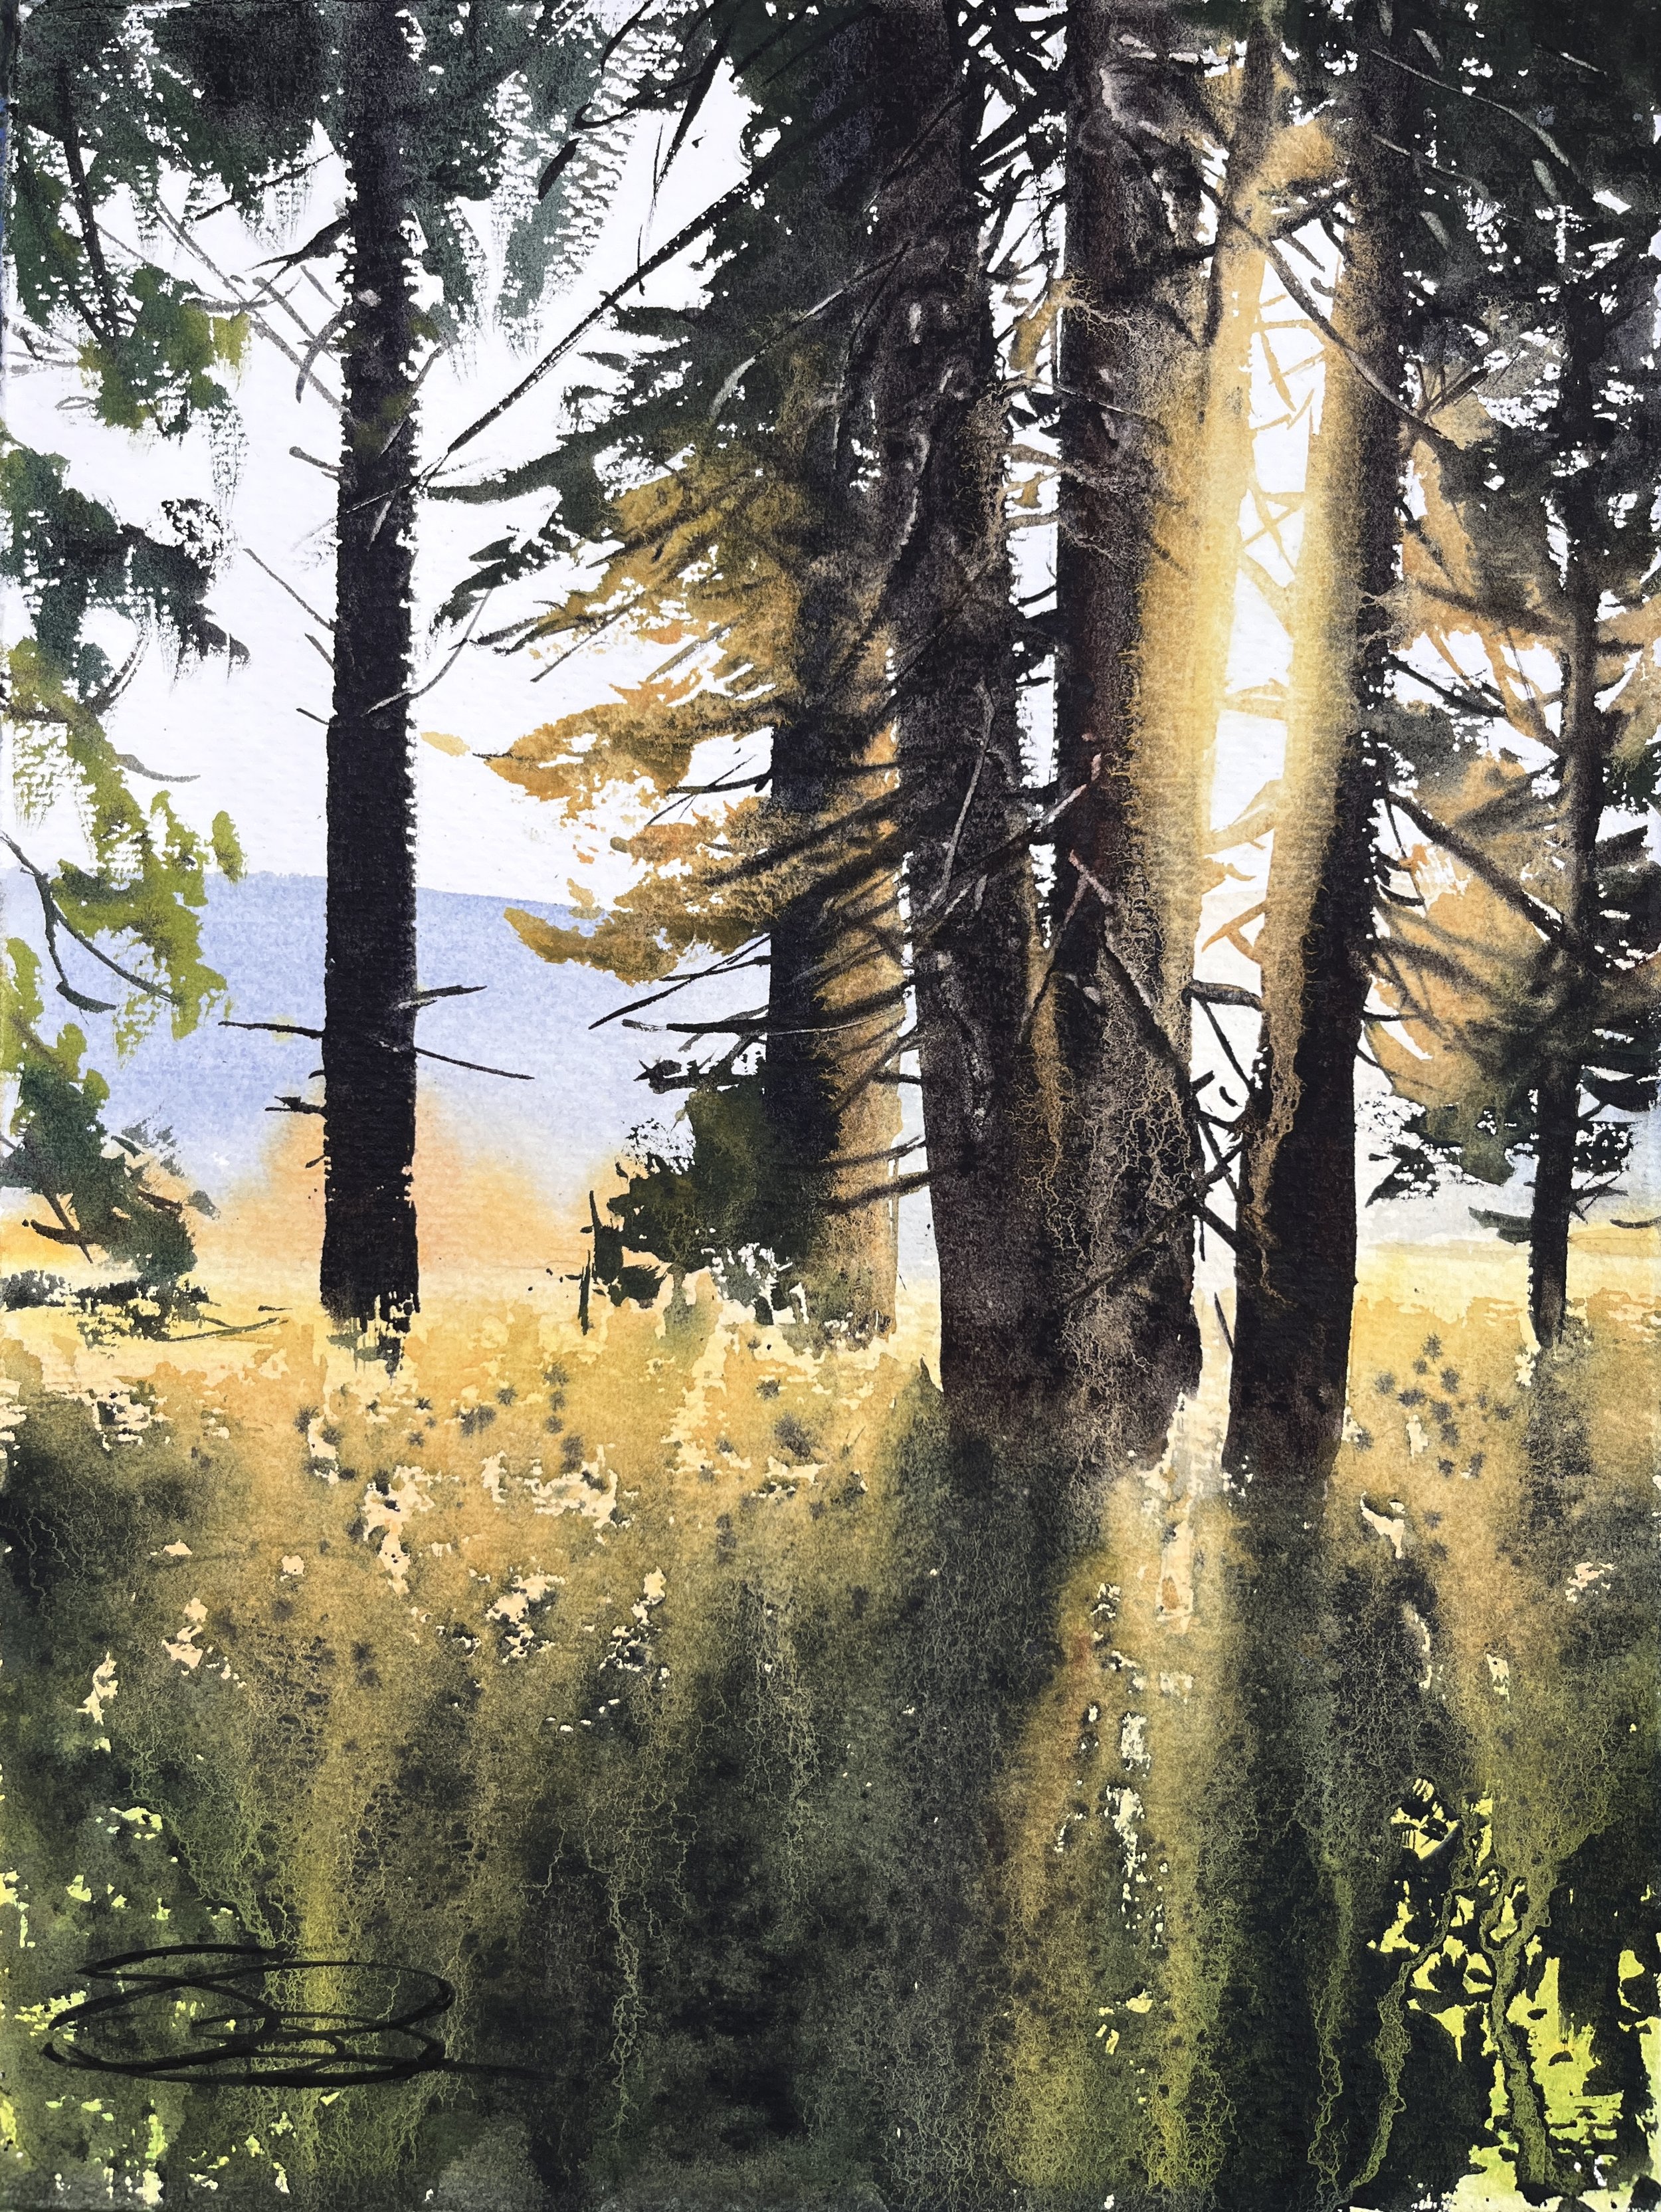
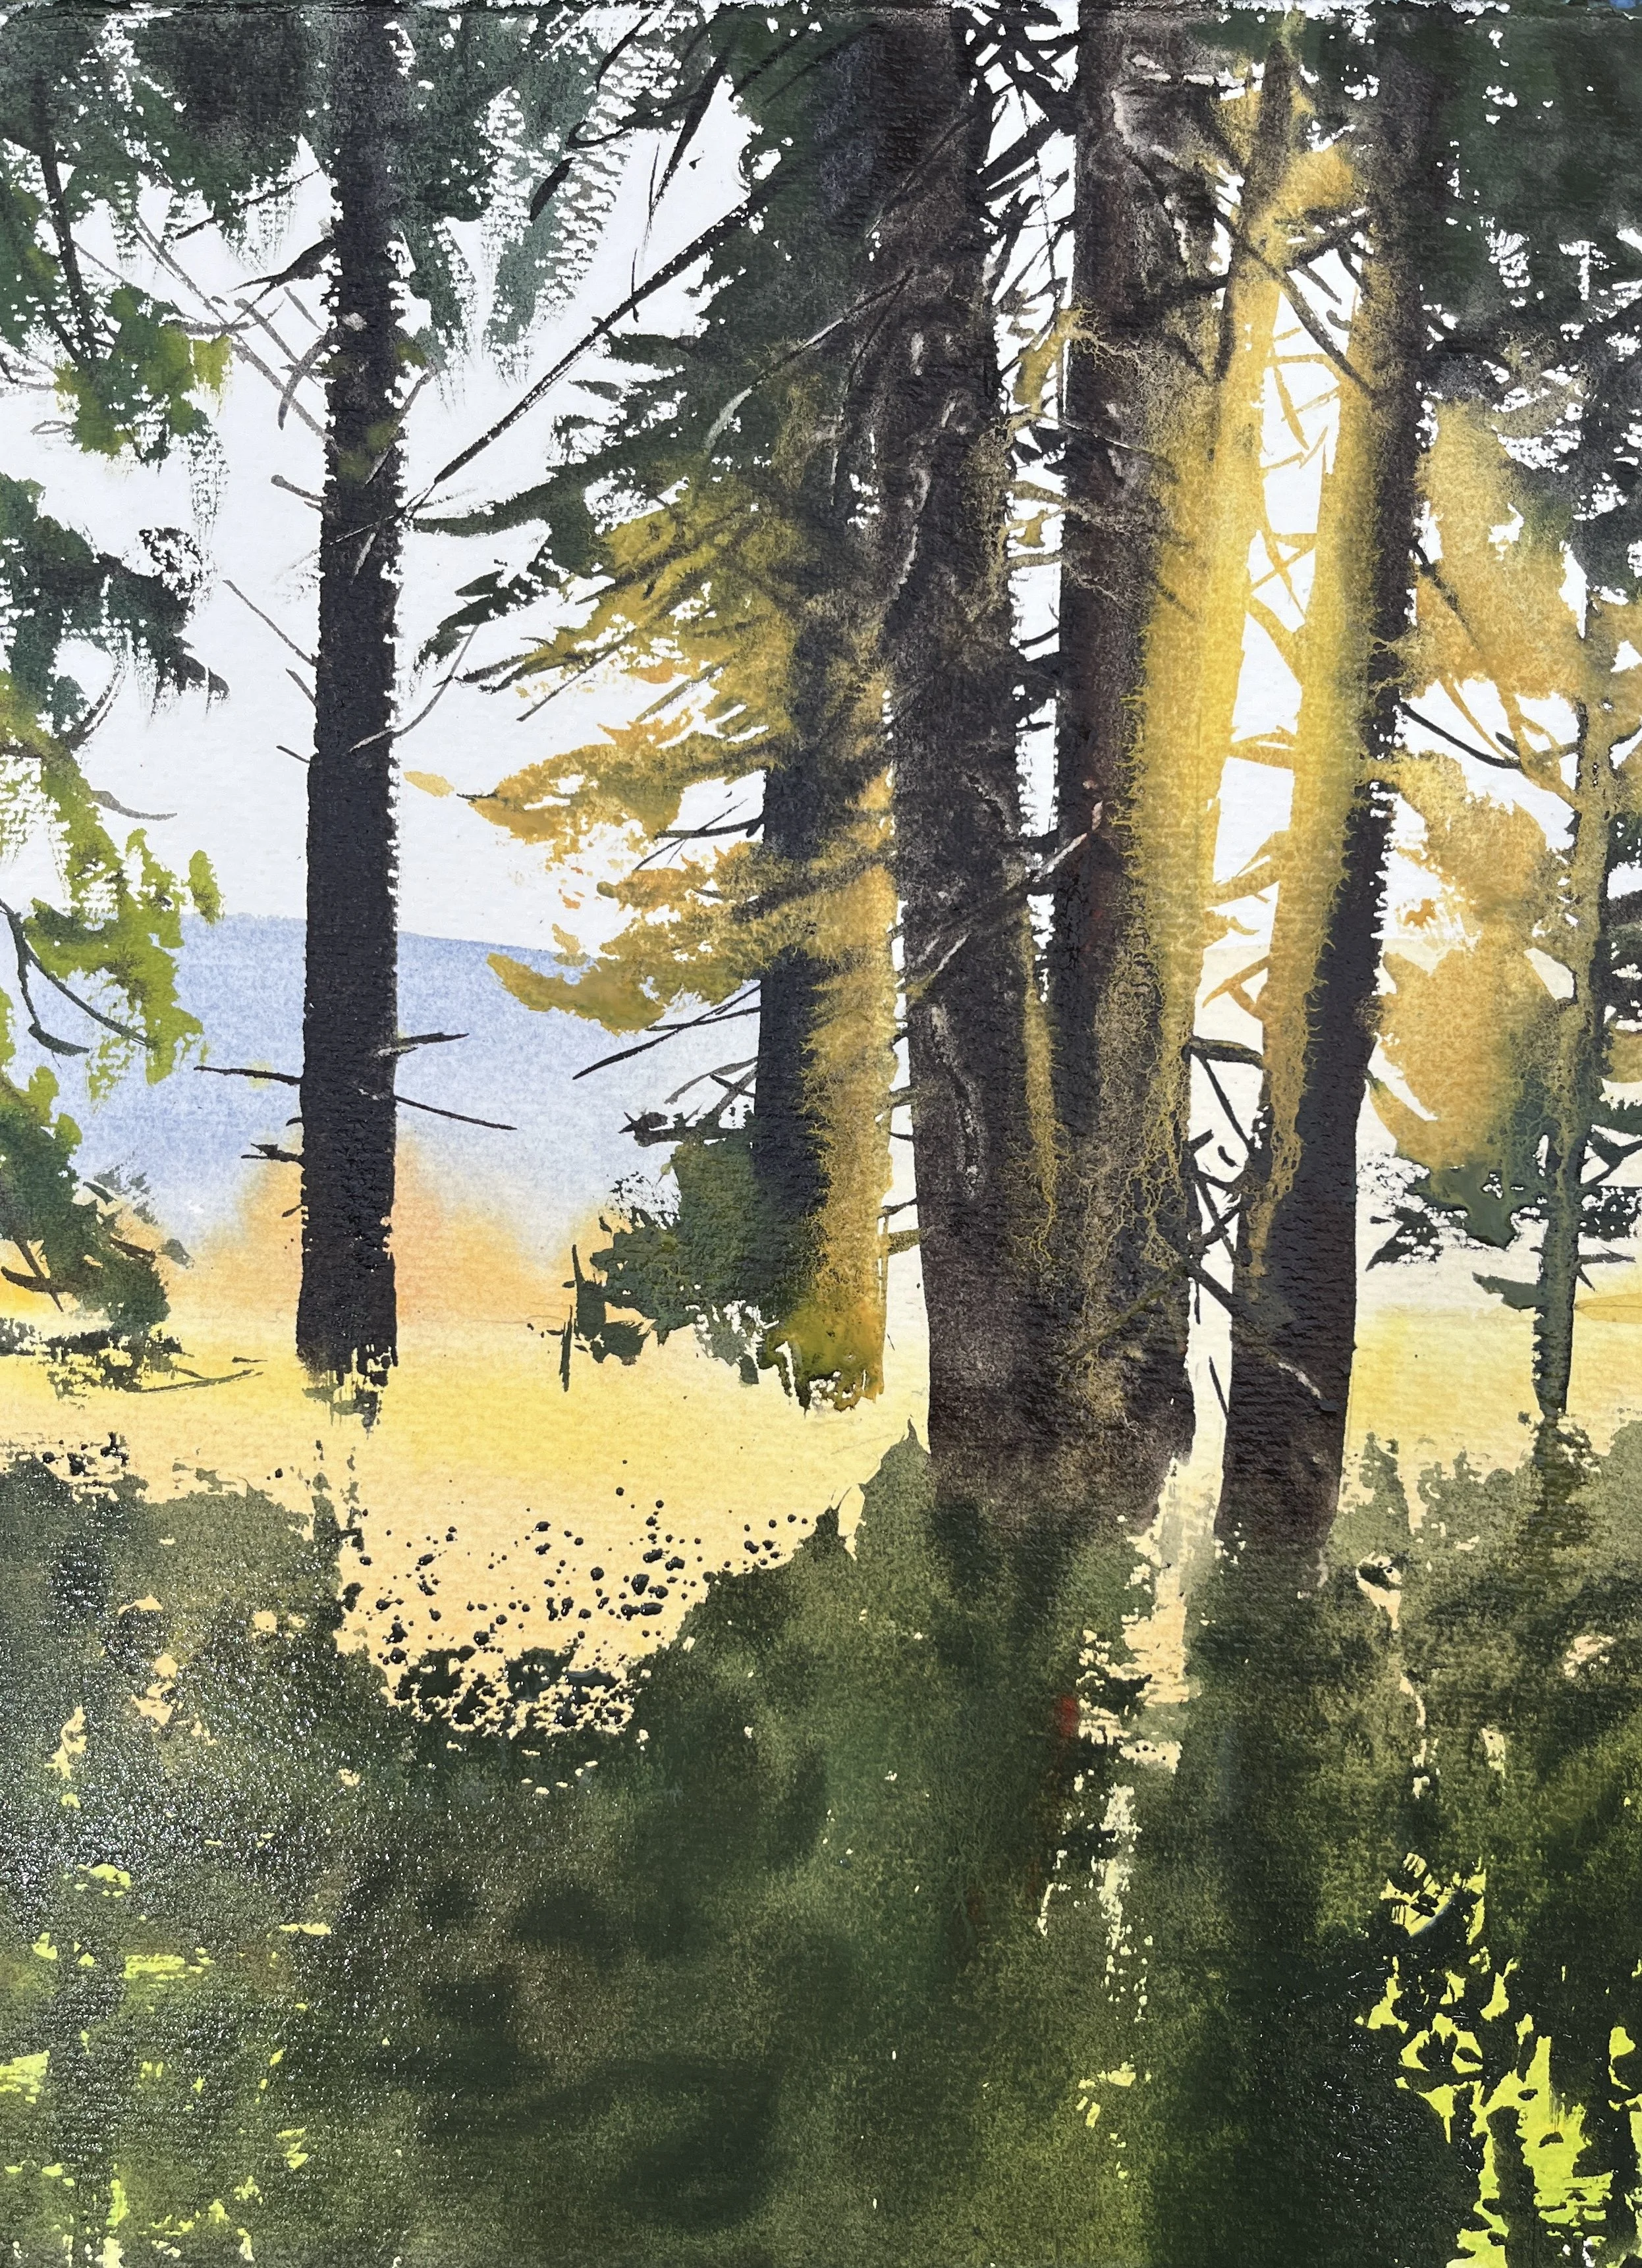
Step 4. Expanded 1/4 sheet version.
Step 1. The Reference Photo Numbers Game-
So, first, every year I take A LOT of photos. I wish I could travel around and just paint plein air all the time, like so many of my most admired painters do, but we can’t all be Sargent or Zbukvic. Or maybe we don’t want to be. I’m raising a family and I run a business, and the fam’ is #1. So, I take photos, and paint plein air when I can.
This year, when I went to choose photos for the 30-day notan challenge, I scrolled through something like 3000 photos. Family photos, photos from job sites, art trips, painting ideas, etc. All kinds of stuff. Some old, some new. I keep them well organized, either by subject or time period. From that, I found about 50 I really wanted to paint, and chose what I thought would be the most fun 30. So already, I’m filtering. Always filtering and filtering, each step of this process. It’s a small percentage that makes the cut each time.
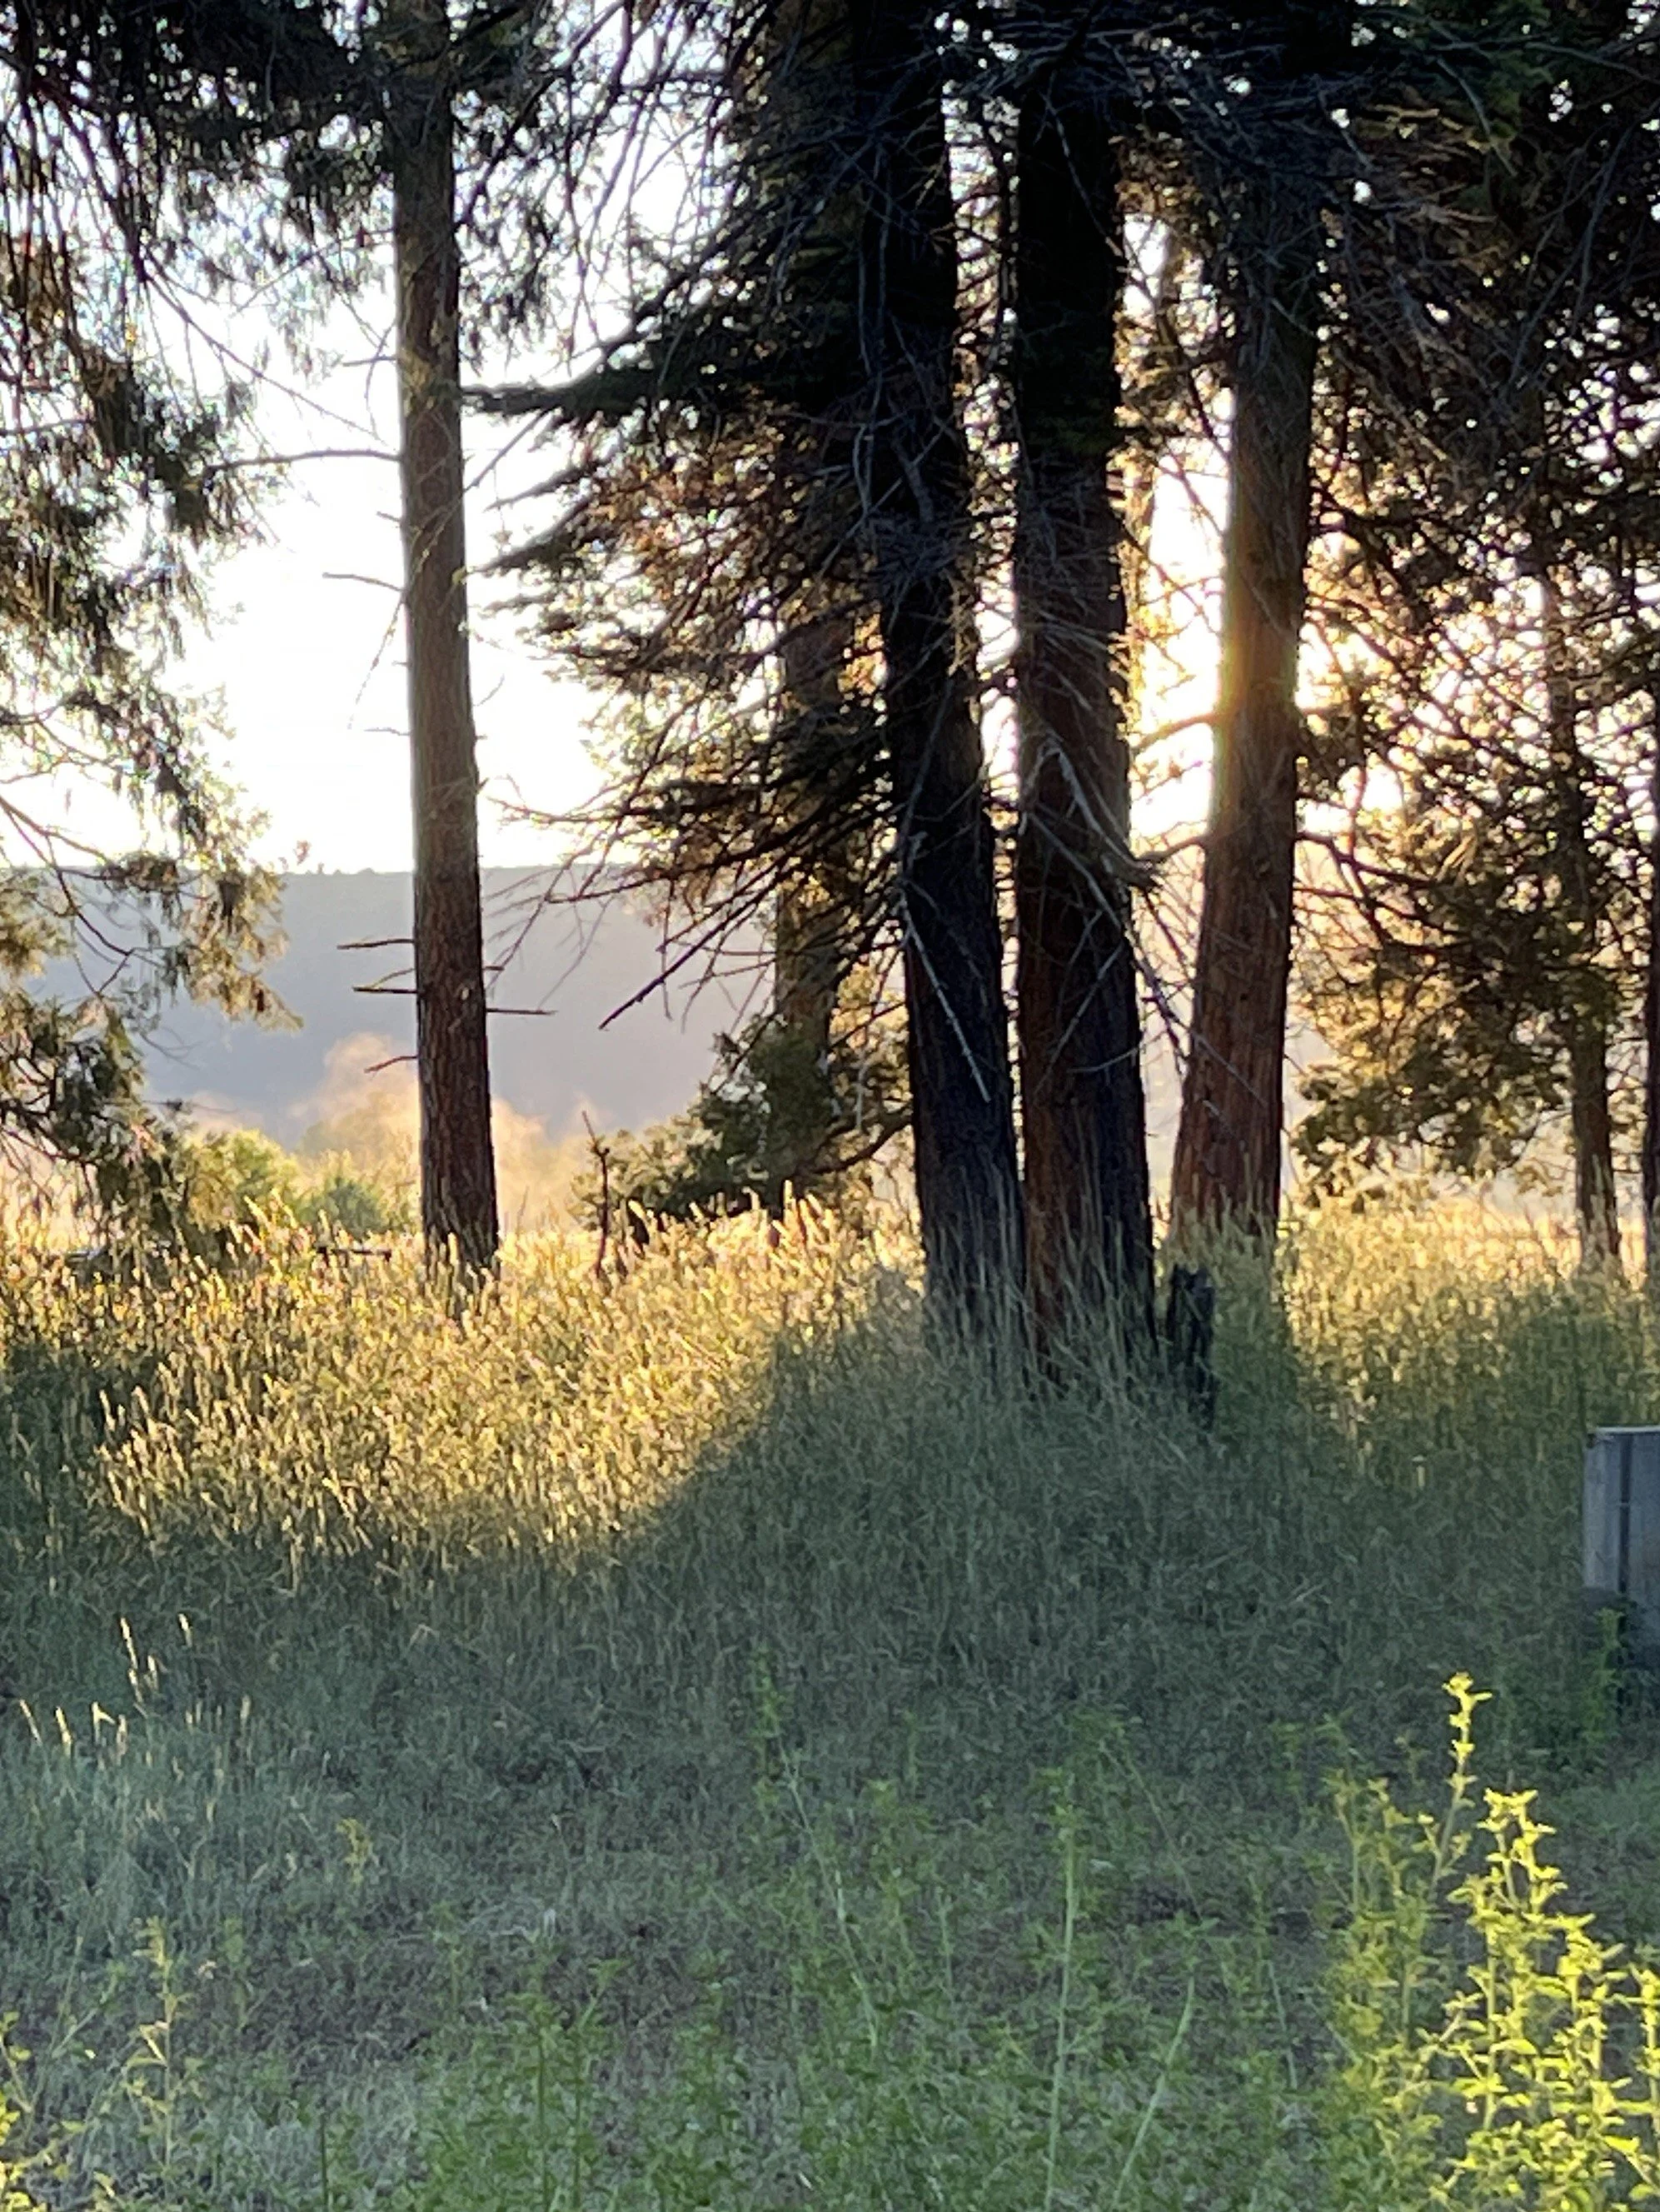
What makes a compelling reference photo?
Well, I wrote a whole post and did a video on that. But, in a nutshell, at this stage, I’m thinking about two basic things- story and composition. Story is easy, but IMO essential. Everyone feels it. But I actually often think it’s a pitfall for students. They’re so enamored with their own (totally lovely) memories, that they can’t see the photo objectively. What makes a compelling Composition is more multifaceted, but I am thinking about things like- balance, contrast, color relationships, leading lines etc. My primary tool is identify contrast, and then zoom in and crop. I try different orientations, sometimes different areas of focus, and then I choose the best of the set.
Step 2. 30 Notans= 30 Opportunities to Explore Composition
Then we did 30 daily notans. If you’re not sure what a notan is or how to make one, you can follow this link and watch the video I made.
Making a notan is a process of simplification and choosing. You can learn a lot about a subject by making a notan of it. Even more so when you go to paint it. Plus, they’re fun!! :D For perhaps 20-60 minutes a day, you can just focus on making an art object and just practice “seeing” and paying attention.
It’s a bizarre expreience, but sometimes I think “This’ll be a hit!” and it just isn’t. Others I think might bore me or be too simple, but I make a notan and am impressed by the final results. There’s a bit of alchemy to it, and I can’t always predict the results. I just have to do it and then assess. That’s what’s fun about the challenge. It just gets you to do the work that is necessary, and turns it into “play”.
“Little Square Paintings” daily challenge-

Here’s where (as I see it) you really get to start seeing some pay off. Using a notan doesn’t just help with composition. It can also really guide you in your wet into wet application. I did a blog post about this the other year. You can read it about it here.
From the 30 notans, I chose those I thought were the best, and I included those in the January challenge, and complimented them with new subject matter. It’s all about separating the wheat from the chaff.
When I go to paint the little square paintings, I have to crop things again, and that can be very helpful. It requires me to reassess what really is the “heart” of the subject. What can I crop, and what is essential? Here I keep the patch of light streaming inbetween the backlit tree trunks and over the grass. A lot gets cut away. If it can get cut away and the painting still works, then it might be interesting but it’s not essential. That can be very handy to know later, when I try to grow the painting back outwards.
Additionally, it’s time to start applying the notan I did back in October. Sometimes the (in)validity of certain choices becomes clear when you have to paint them. In this example, once I got going it became very clear that the background hills are definitely pale and recessive, and shouldn’t be competing with the darks of my tree trunks. So, the transition from notan to little square painting has some changes here. Even if I crop the notan to the new, square shape, and make my final painting black and white, the value relationship (atleast for the background) I chose to go with clearly disagrees with the notan.

But that’s ok! It’s all about the process, and giving yourself room to explore different subjects over time, to get acquainted with the problems of the painting, and to teach yourself how you want to approach various problems and decisions. It arms you with experience before you do a “proper” larger painting. And beyond all that, the truth is that the majority of the work I did with the original notan is still on point and very useful.
Here you can see the step by step of the process-

Step 1. Background wash.

Step 2. Wet into Wet tree trunks and grass.

Step 3. Glazing in warm wash and darker shadows.
You can learn a lot through painting a subject. Only so much can go on in your mind— you have to teach yourself through doing! With this one, I knew that the light streaming between the trunks was the key to the painting, but I was also pleasantly surprised and had a great time working on the foreground. It was lovely and wet and expressive and I didn’t anticipate that. It got to be as loose as it wanted to be, because the tree trunks are doing all the heavy lifting about the “story”. Plus, only once I thought I was done did I recognize that I wanted my yellows to be richer and warmer, for my foreground darks to be darker, and for my background blue to have just a bit more pop. So I delicately glazed in another wash in each area and called it done. All of that became important when I went to paint it again in the next challenge.
Time to Grow My Paintings!
One of the things I like about slowly doing these challenges in sequence is that they build up our relationship with images over time, and yet each step is its own pleasure and end point, in and of itself. All while filtering through images and shedding those compositions that just didn’t pan out. By the time we get to this stage, I’m already pretty sure I like the image and that I’m going to be able to create a successful painting from it— partly because I’ve already done it once before!
First, I have to grow the image back out. It’s a rectangle again. So I look for how I’d like to best expand the composition— wider or taller. I decide taller. I liked doing the foreground so much in the last version, I decide to make it even bigger. It was a surprise pleasure, and really added a lot to the vibe of the final result! I hunt for elements of contrast in that area to highlight and pull a bit of interest in. I choose the bits of very brightly sunlit grasses at the bottom of the photo.
Something that is very helpful with all of this is that I take step by step photos— a process I’ve been doing educationally for years because of the blog, but which I’m doing a lot now for the Facebook group and Instagram as well— so when I go to paint it larger, I can refer back to how I did it last time. It’s not essential, but it helps. Particularly if its been a month or more since I last painted it!
Taking step by step photos is not an approach I’ve pushed as much for students, but I really think people would benefit from it for their own work. I certainly have. Perhaps I should promote this more as a self-teaching tool!?!?! This thought just occurred to me. It makes you pause and assess as you go, and afterwards it can really help you to unpack your own steps and critique yourself. Without it, you only have the final results to hold on to mentally, but with it, there’s so much more for you pay attention to.
On that note, the step by steps from the previous version informed my approach this time. Note how my color palette is much more chromatic. A choice clearly informed by my previous attempt. When I’m repainting something, I also often physically have the original version out, to reference and assess right beside the reference photo on my laptop. The two as a combo help prepare my mind and how I’ll approach things.
Here are the new step by steps for this version—

Step 1 The Sketch. Very minimal.

Step 2. The first wash.

Step 3.
Step 3.5 Wet into wet trunks.
Step 4. The foreground.
Step 5. Wet into Wet. Splatter. Lifting.
As always, new things come out of painting it. Little things happen I didn’t anticipate (this version was more granular than I anticipated), but I roll with it and accept what the painting process gives me, when it is special and unanticipated. Even so, each version gets easier to paint.
Like practicing a speech (not memorizing it) or learning a role for a play, or how I imagine learning jazz would be, you practice ahead of time so that your delivery in the moment can be more free and unencumbered. The same applies here. I’m not a robot. Each painting is its own living experience, even if I’ve “played it before”. In truth, knowing how I’m going to approach it can really help me let loose at times. I understand the steps I’m going to take, the basic structure of things, and when I’m approaching the end. But there’s lots of freedom inside of things, to improve and learn as I go.
What’s the Next Step?
For myself, I’ll take the best of these 8-10 paintings, and I’ll probably grow them again for myself. Perhaps to full sheet or larger. The goal is to feel confident that I like the reference photo, that I like the notan composition, and that (through these smaller paintings) that I feel like I have a reasonable command of the subject before I begin working on such a large piece. That I know what I want, and how I’ll be altering my reference photo.
For the Facebook group, we’ll be doing this atleast another 4-6 times. We’re on Week 4 right now. Each painting is from the January challenge. Some are also from the October notan challenge too. The goal is to allow folks to take full advantage of the experience they’ve been building up with some of these subjects over the last few months. If you find the concept of this process interesting, I hope that you’ll try iterating your own work as well.
Don’t forget to subscribe if you haven’t done so already! You’ll find the link to “Join My Army of Art Nerds” down below!